Friday, February 28, 2014

Walk Cycle


Walk Cycle

            For this next project, we were shown how to make a walk cycle. You had to place a different image

 on each layer in a new position, and when you ran them together, the figure looks like it is walking. It was 

simple to follow as soon as I had an animal to work with. I decided to go for a four-legged walk cycle, 

which was simple if you followed the steps and drew each stage correctly. It looks a little rough, but I am 

pleased with how it turned out.


Monday, February 24, 2014

Barbie Project


Barbie Project

    This project was inspired by the statement that barbie's proportions were unrealistic, but the teachers though this would be the same with other imaginary figures as well. So we had to chose a celebrity to give cartoonish features to and post it here. My choice was Sylvester the cat mixed with Sylvester Stallone, the joke just writes itself. This was a very hard project, as I whenever I used the liquify tool, it warped the picture to the point of being terrible. Thank the photoshop makers for the undo button. This was the best I could manage without the liquify tool.


Thursday, February 20, 2014

Retouching Day Two


Retouching Day Two

          Today we were given some extra tutorials and two pictures and told to make the figures in them more 

attractive. While using the tools I already had was easy, I had trouble using things like the liquefy menu to 

adjust things without making them look weird. I decided just to use the methods I already had to spruce up 

the images.


Tuesday, February 18, 2014

Photo Retouching


Photo Retouching

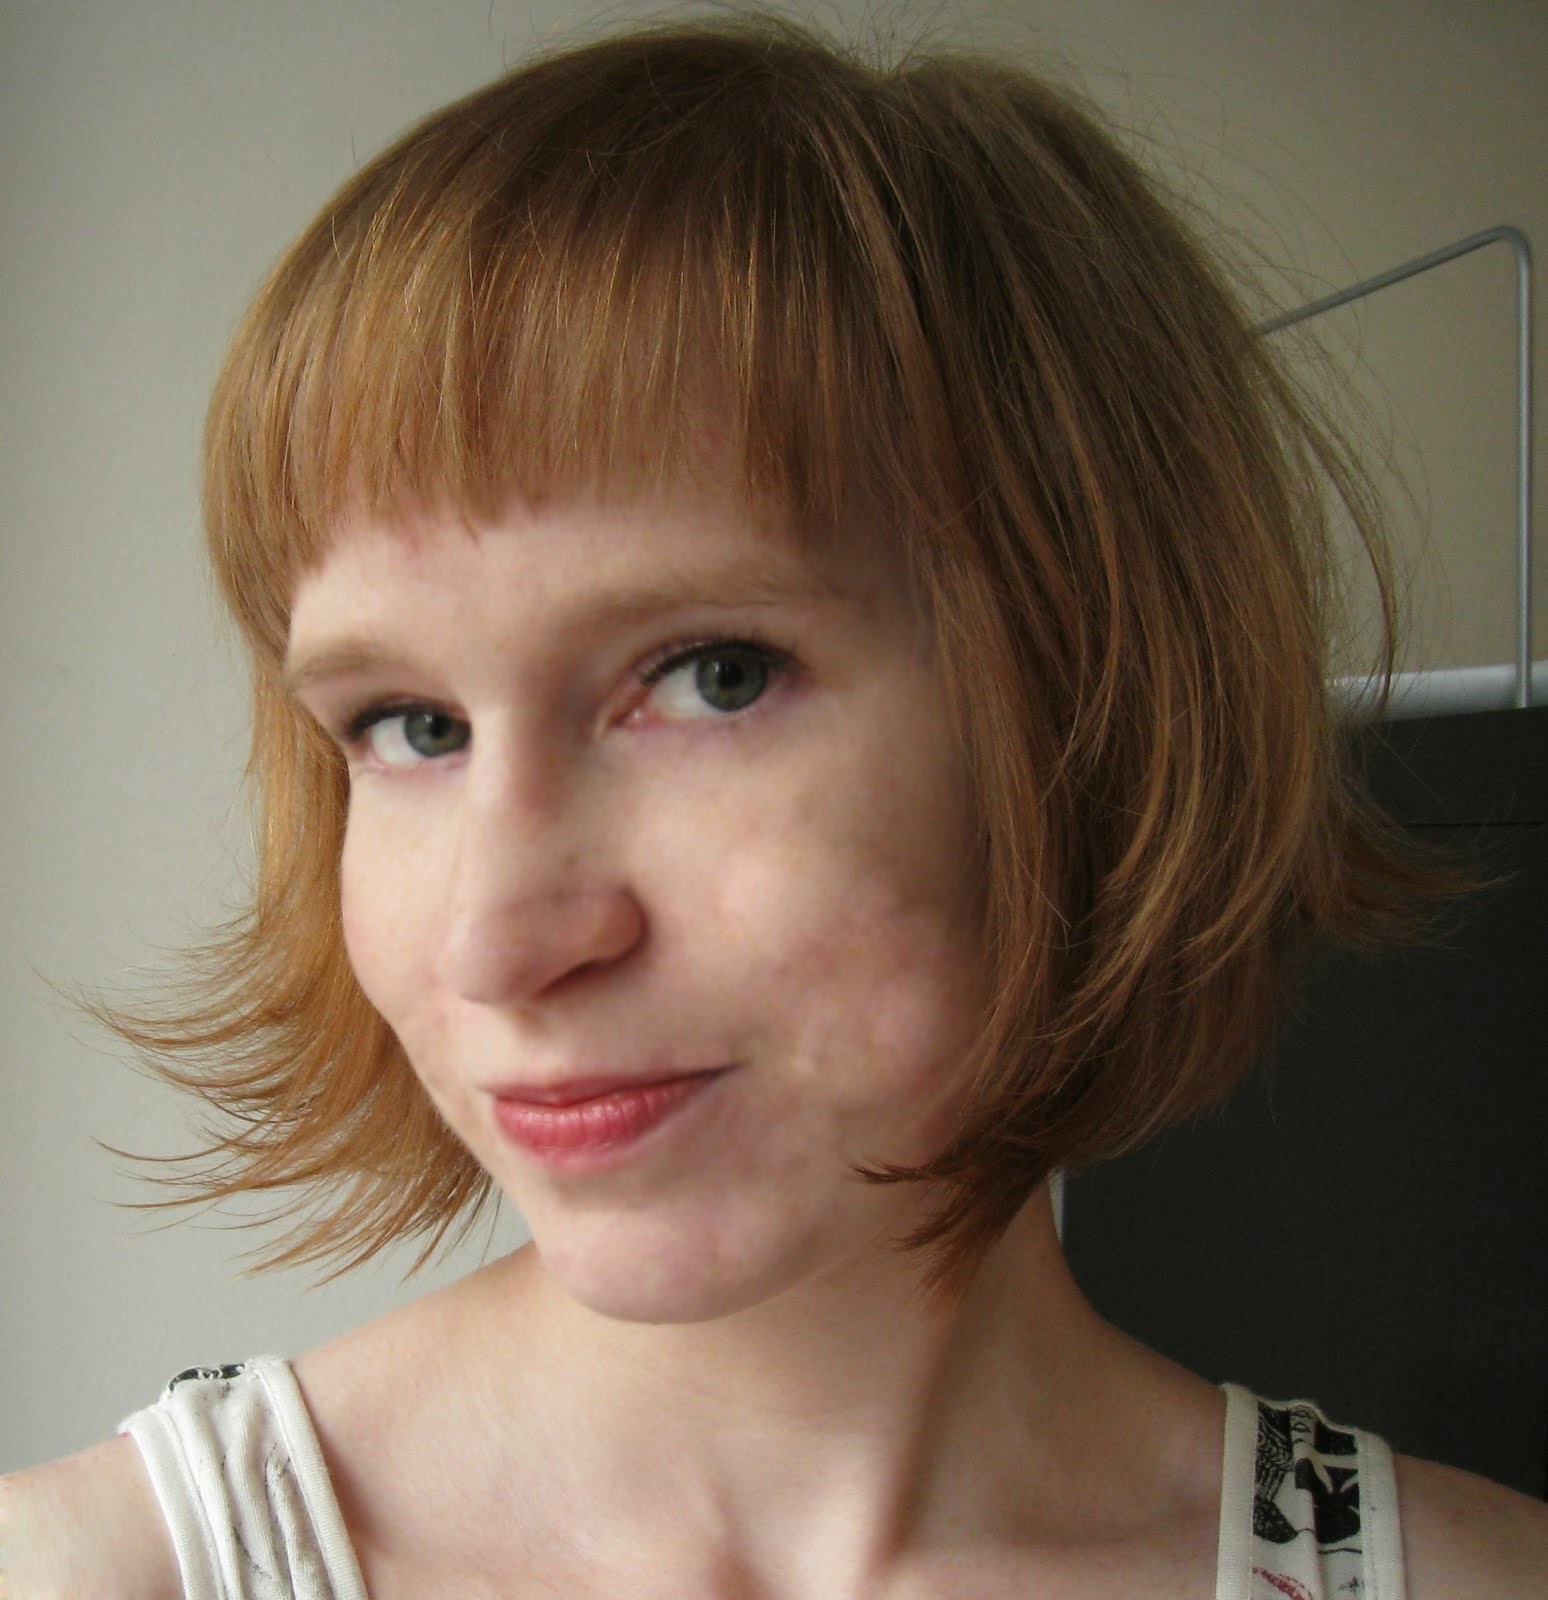
     We have now moved on to photo retouching, commonly used by magazine companies to make their

 models flawless. We took a picture of a girl who had a lot of freckles on her skin, edited those out, 

smoothed out the edges and added vibrancy to her eyes. It was simple enough once you became familiar 

with the tools and was as much fun as any other project we have done so far.


Tuesday, February 11, 2014

Paint Splat Project


Paint Splat Project

        This was a fun and creative project where we had to add paint splats to an image to create an effect like that the colors were bleeding off the object. I searched for an object with a lot of color and decided on a blue butterfly. While it was painstaking to cut out each paint splat, it was simple to blend it to the body, and with a blurred flower background, I obtained my desired effect.


Thursday, February 6, 2014

Splat Cat


Splat Cat

      In today's tutorial, we were shown how to take a picture of paint splats, warp and adjust them until they 

blended with the animal so that they looked like someone had covered them in paint. It was a simple

 process that can be recreated easily and can create many different images. Online, I found a picture with a 

cross-eyed cat and thought it would be perfect to stick the paint splat right between his eyes. It ended with a

 rather comical effect that I am very proud of.


Newimals


Newimals

         In this project we took two different animals and had to combine them into a new one using all our 

Photoshop skills to make it believable. I chose to use a jaguar and a hyena for mine. Believably blending the 

body parts was hard, and I certainly feel like my abilities were tested by this project, and am still happy how 

it turned out.


Wednesday, February 5, 2014

X-ray Vision


X-ray Vision

       For today's project, we were told to take a picture of ourselves with a frame and turn the inside of the

frame into an x-ray. This was tons of fun and as it turns out very simple once you get the right pictures. The 

only thing that was difficult was trying to get the skull to look see through so that the viewer could get a good 

look at the books I placed in the skull. While I don't think it looks as good as I wanted, it was the best I 

could manage at the time.


Monday, February 3, 2014

Colorize


Colorize

       In this tutorial, we took a picture and learned how to add interesting colors to it. Colorizing has a

fun and entertaining look to it and is a surprisingly simple trick. It gives you pretty much free range

to pic the colors and gradient you want to use, and smoothing them down is a very easy way to make

it look professional.


Cartoon Portrait

          For this project, we were told to Photoshop a picture of ourselves doing something with a

cartoon character, so I chose a favorite from my childhood; Tigger. I thought to myself, "what does

Tigger do best?" Bouncing, of course! So I depicted myself joining Tigger in one of his romps. Using

the lasso and burn tools, I cropped pieces of myself and added shadows to make it somewhat

believable that I was getting a ride from Tigger. I also used the blur tool to simulate motion, like the

picture was taken as he was bouncing through the air.